
If you’re ready to move on from acrylic nails or just need a break, you’re in the right spot. Taking off acrylic nails at home can be easy if you know how. This guide will show you how to safely remove acrylic nails, from the right techniques to protecting your natural nails. Whether you want to remove your current set or learn about at-home acrylic nail removal, you’ll find everything you need here.

Key Takeaways
- Learn effective techniques for safely removing acrylic nails at home
- Understand the importance of proper removal to prevent damage to your natural nails
- Discover the essential supplies needed for at-home acrylic nail removal
- Explore the soaking method and step-by-step process for removing acrylic nails
- Gain tips on dealing with stubborn acrylic remnants and caring for your nails post-removal
Understanding Acrylic Nail Removal
Before we start removing acrylic nails, it’s key to know why doing it right is crucial. If you don’t remove them properly, you could face serious issues. These problems include damage to your natural nails, peeling, thinning, and even getting fungal infections. So, it’s vital to remove acrylics correctly to keep your nails healthy and looking good.
Why You Need to Remove Acrylic Nails Properly
Many people love acrylic nails, but they can be tough to take off safely. If you rush or use harsh methods, you might harm your natural nail bed. This can leave your nails weak and open to various problems. By being careful and gentle, you can keep your nails safe and easily switch back to your natural nails.
Potential Risks of Improper Removal
- Peeling and thinning of the natural nail
- Damage to the nail bed, leading to discoloration or deformities
- Increased risk of fungal infections
- Painful irritation and inflammation of the skin around the nails
It’s crucial to use the right methods for removing acrylic nails to keep your natural nails healthy. Taking your time and doing it correctly helps you avoid these issues. This way, you can go back to your natural nails without any stress.
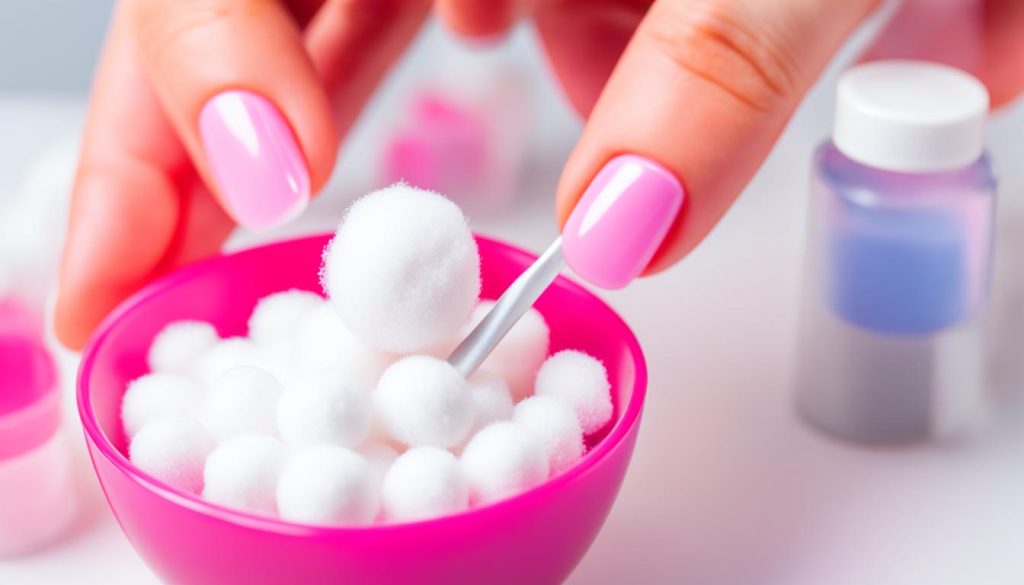
Gathering the Essential Supplies
Removing acrylic nails at home is easy with the right tools. Before starting, make sure you have everything you need for a safe and successful removal. You’ll need these key items for at-home acrylic nail removal:
- Acetone-based nail polish remover
- Aluminum foil
- Cotton balls
- A sturdy file or buffer
Acetone-based nail polish remover is key for softening the acrylic adhesive. Aluminum foil and cotton balls help create a soaking solution to remove the acrylic nails. A file or buffer is needed to gently file down any leftover acrylic.
Having these acrylic nail removal products ready will make the process smooth and efficient. With the right tools, you can safely and effectively remove your acrylic nails at home.
“Proper preparation is the key to a successful acrylic nail removal at home.”
Preparing Your Nails for Removal
Before you start removing your acrylic nails, make sure your natural nails are ready. You need to file down the acrylic gently. This makes the removal solution work better. Also, it helps avoid hurting your delicate nail beds.
Gently Filing the Surface
Start by using a coarse grit file or buffer on your acrylic nails. This makes the soaking solution get into the acrylic better. Remember to file in the direction your nails grow. Don’t file too much, as it can make your natural nails weak.
Avoiding Damage to Your Natural Nails
When filing acrylic nails or taking off acrylic nails without damage, be gentle and patient. Hurrying can cause your natural nails to tear, crack, or lift. This is painful and can lead to infection. Take your time and watch your nails closely as you file.
- Start with a coarse grit file or buffer and gradually transition to a finer grit as you smooth the surface
- File in the direction of your nail growth to minimize stress on the natural nail
- Avoid excessive filing that could thin or weaken your nails
- Watch for signs of irritation or damage, and stop immediately if you notice any
By preparing your nails carefully and protecting your natural nail beds, you’ll make sure the acrylic nail removal goes well and doesn’t damage your nails.
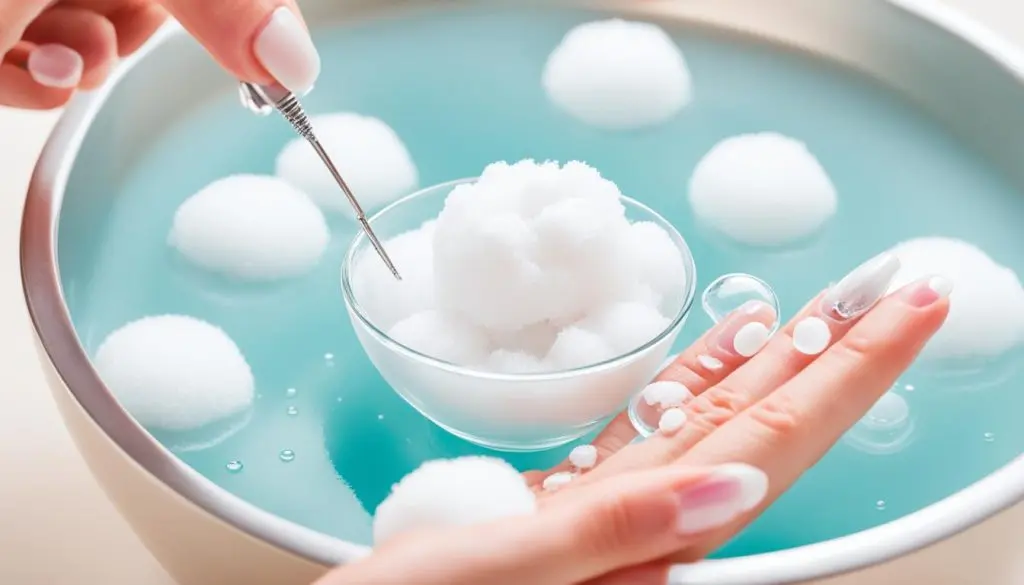
The Soaking Method
Removing acrylic nails at home is easy with the soaking method. This method uses a special solution to break down the acrylic bond. It helps lift the nails off your natural nail bed.
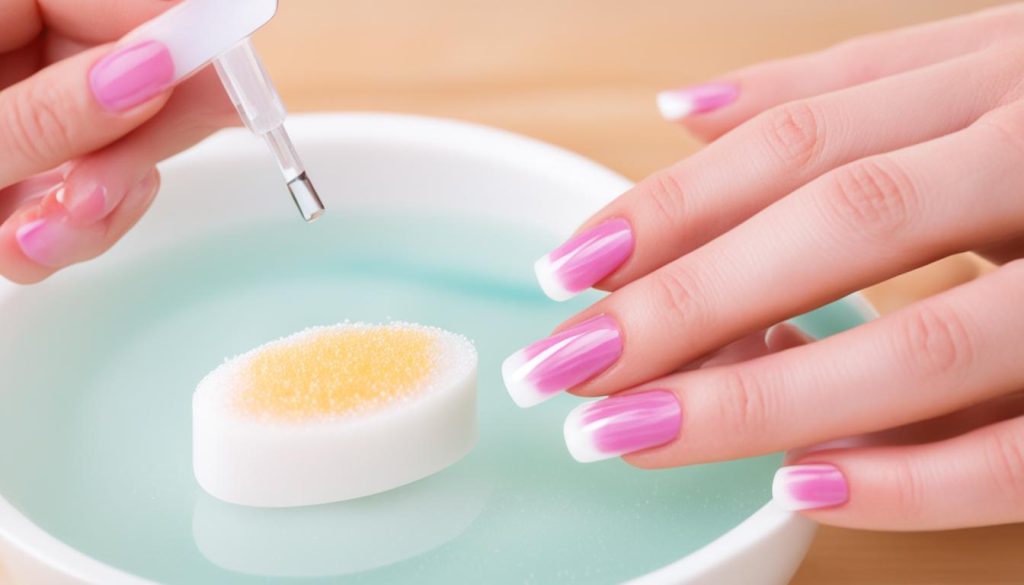
Choosing the Right Soaking Solution
Choosing the right solution is crucial for soaking off acrylic nails. Acetone-based nail polish removers work best. They dissolve the acrylic quickly and smoothly.
Step-by-Step Soaking Process
- Start by getting your supplies ready. You’ll need acetone-based nail polish remover, a bowl, and cuticle pushers or orange sticks.
- Soak a cotton ball or pad in the remover and put it on your acrylic nail. Cover it with foil or plastic wrap to keep the solution in place.
- Let your nails soak for 10-15 minutes until the acrylic starts to lift and soften.
- Then, gently push the acrylic off your nail with a cuticle pusher or orange stick. Do this in small sections.
- Keep soaking and removing each nail until you’ve taken off all the acrylic nail removal techniques.
Be patient and gentle when soaking off your acrylic nails. This way, you won’t damage your natural nails. With care, you can easily switch back to your healthy nails.
How to Remove Acrylic Nails
Removing acrylic nails at home is possible with the right steps. It’s a delicate process, but you can do it safely. If you’re ready to say goodbye to your acrylics or just need a break, knowing how to do it right is important. This way, you protect your natural nails from damage.
Gently Lift and Peel
Begin by filing the surface of your acrylic nails with a coarse nail file. This breaks the seal between the acrylics and your natural nails, making them easier to remove. After filing, use your fingers to lift the acrylics’ edges slowly and carefully. Peel them off gradually, avoiding the urge to pull too hard and tear your nails.
Handle Stubborn Remnants
If some acrylic bits won’t come off, soak your nails in acetone-based nail polish remover for 10-15 minutes. This dissolves the acrylic, making it easier to scrape off with an orangewood stick or cuticle pusher. Be patient and gentle to avoid damaging your natural nails.
| Tip | Explanation |
|---|---|
| Go Slowly | Rushing can cause torn or peeled nails. Take your time and be gentle. |
| Use Acetone Sparingly | Acetone dissolves acrylics but can dry out and weaken your nails if used too much. |
By following these steps, you can safely remove acrylic nails and take off acrylic nails without damage to your natural nail beds. Be patient and focus on keeping your nails healthy during the process.
Dealing with Stubborn Acrylic Remnants
Even with the soaking method, sometimes acrylic remnants don’t come off easily. Don’t worry, there are safe ways to remove them without hurting your natural nails.
Safe Removal Techniques
When dealing with stubborn acrylic, be careful and patient. Aggressive methods can damage your natural nails. Here are some safe ways to remove them:
- Gentle Filing – Use a fine-grit nail file to file down the acrylic slowly. Be gentle and take your time to avoid damaging your nails.
- Acetone Soaking – Soak your nails in 100% pure acetone for 10-15 minutes. Then, use an orange stick or cuticle pusher to gently scrape off the acrylic. Don’t soak too long, as it can dry out your nails.
- Warm Oil Soak – Mix a few drops of essential oil, like vitamin E or jojoba, with warm water. Soak your nails for 15-20 minutes. Then, gently push off the softened acrylic.
Remember, being patient and gentle is key when removing acrylic nails. Slow and careful steps help you avoid damage to your natural nails.
Nail Care After Removal
Removing acrylic nails can feel like a big relief. But, taking good care of your natural nails after is key. You need to moisturize and nourish them to make them strong and healthy again.
Moisturizing and Nourishing Your Nails
After taking off acrylic nails, your natural nails might feel dry, brittle, and weak. Here are some tips to help:
- Apply a rich, nourishing nail oil or cuticle cream daily to hydrate and condition your nails.
- Use a gentle, nail-strengthening polish or treatment to help your nails recover.
- Avoid harsh chemicals and detergents that can further dry out your nails.
- Wear gloves when doing household chores to protect your nails from damage.
- Be patient and let your nails grow out naturally, without rushing to apply new acrylics or gels.
By following these simple steps, you can help your nails recover from acrylic nail removal. This way, they can get back to their healthy, natural look.
“Proper nail care after removing acrylics is crucial to prevent long-term damage and ensure a smooth, healthy transition back to your natural nails.”
| Nail Care Tip | Benefits |
|---|---|
| Moisturize daily with nail oil or cream | Hydrates and nourishes nails, preventing dryness and brittleness |
| Use a strengthening polish or treatment | Helps rebuild nail strength and resilience |
| Avoid harsh chemicals and detergents | Protects nails from further damage and drying out |
| Wear gloves for household chores | Shields nails from physical and chemical exposure |
| Be patient and let nails grow out naturally | Allows nails to recover without the stress of new artificial enhancements |
Tips for Preventing Nail Damage
Removing acrylic nails can be tricky, but you can protect your natural nails with the right steps. Here are key tips for safely removing your acrylic nails at home:
- Start Slow: Don’t rush the removal process. Take your time and work gently to avoid peeling or tearing off the acrylic nails, which can lead to nail bed injuries.
- Avoid Excessive Filing: Limit the amount of filing you do on your nails. Excessive filing can thin out and weaken your natural nails, making them more susceptible to breakage.
- Use the Proper Tools: Invest in a high-quality nail file, cuticle pusher, and remover solution designed specifically for acrylic nail removal. Avoid using sharp or abrasive tools that can damage your nails.
- Moisturize Regularly: After removing your acrylic nails, be sure to keep your natural nails well-hydrated. Apply a rich, nourishing nail and cuticle oil or cream to replenish moisture and prevent dryness and brittleness.
- Give Your Nails a Break: Consider taking a break from any type of nail enhancements, including acrylic, gel, or shellac, to allow your natural nails to recover and regain their strength.
By following these acrylic nail removal tips and taking the necessary precautions, you can take off acrylic nails without damage and maintain the health and beauty of your natural nails.
“Proper nail care is essential for preventing damage during and after acrylic nail removal.”
| Tip | Description |
|---|---|
| Start Slow | Take your time and work gently to avoid peeling or tearing off the acrylic nails, which can lead to nail bed injuries. |
| Avoid Excessive Filing | Limit the amount of filing you do on your nails to prevent thinning and weakening of your natural nails. |
| Use the Proper Tools | Invest in a high-quality nail file, cuticle pusher, and remover solution designed specifically for acrylic nail removal. |
| Moisturize Regularly | Apply a rich, nourishing nail and cuticle oil or cream to replenish moisture and prevent dryness and brittleness. |
| Give Your Nails a Break | Consider taking a break from any type of nail enhancements to allow your natural nails to recover and regain their strength. |
When to Seek Professional Help
This guide shows how to safely remove acrylic nails at home. But sometimes, you might need a pro’s help. If you see severe nail damage or signs of infection, get help from a licensed nail tech or a dermatologist.
Identifying Potential Issues
Be careful during acrylic nail removal. Watch out for signs you might need a pro. Look for a lot of pain, skin irritation, or pus. If you see these, stop and get medical help right away.
If you’re not sure how to remove your acrylic nails or if it’s hard, a pro can help. They have the skills and knowledge to make it safe and successful. This way, you avoid problems and keep your natural nails healthy.