

If you’re interested in the world of polygel nails and want to do stunning manicures at home, you’re in the right spot. Polygel nails mix gel and acrylic for a look that’s both natural and long-lasting. To start with polygel nails, you’ll need the right tools and supplies.
This guide will show you the key tools and products for polygel nails. It doesn’t matter if you’re experienced or just starting. You’ll find the essential items to improve your at-home nail care. Get ready to make your nail styling better and achieve salon-quality looks from home.
Key Takeaways
- Understand the essential tools required for creating polygel nails at home
- Discover the unique benefits of using polygel for nail enhancement
- Learn about the key components of a complete polygel nail kit
- Explore the importance of proper nail preparation and grooming
- Familiarize yourself with the necessary application tools and accessories
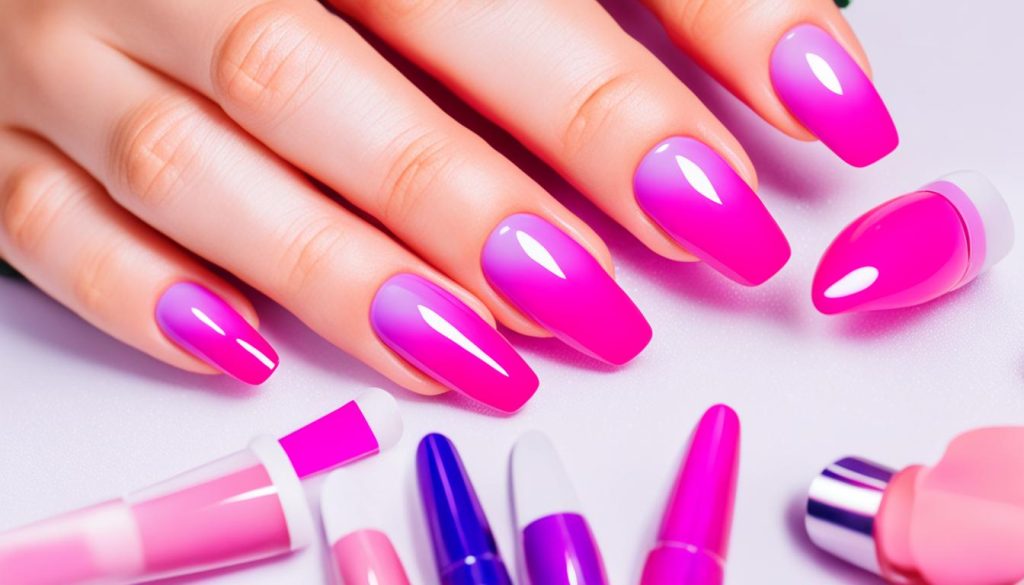
What are Polygel Nails?
Polygel nails are a new way to get strong, long-lasting, and natural-looking nails. They mix the best parts of gel and acrylic nails. This makes them flexible and strong, unlike traditional nail enhancements.
Understanding the Unique Nail Enhancement
Polygel is made from acrylic powder and gel. It’s applied like acrylic nails but is more flexible and lightweight. This gives a natural look that’s both pretty and comfy to wear.
Benefits of Using Polygel Nails
- Durability: Polygel nails are very strong and can last 4-6 weeks with good care.
- Flexibility: They’re flexible, which means they look more natural and are less likely to crack.
- Natural Appearance: Polygel looks almost like your real nails, making them hard to spot.
- Easy Maintenance: You don’t need to get them filled as often, and they’re easy to remove safely.
- Versatility: You can choose from many colors and designs, making your nails unique.
Compared to acrylic nails, polygel is lighter and more flexible. It’s less damaging to your real nails. This makes it a top choice for those wanting a lasting and good-looking nail upgrade.
Polygel Nail Kit Essentials
Creating gorgeous polygel nails at home requires the right tools and products. A complete polygel nail kit gives you everything you need for professional-looking nails. Here are the key items you should have in your kit.
- Polygel – The main attraction! Choose high-quality polygel in your favorite colors and finishes.
- Dual Forms or Clear Forms – These forms help shape and sculpt your polygel nail extensions perfectly.
- Base and Top Coats – These are crucial for a smooth, lasting polygel manicure.
- Nail Dehydrator and Primer – Prepares the nail for the polygel’s adhesion.
- Nail File and Buffer – Shapes and smoothens the polygel nails for a flawless finish.
- Cuticle Pusher and Nipper – Keeps your cuticles neat and tidy around the polygel nails.
- Polygel Application Brush – Helps you apply and sculpt the polygel for a professional look.
- LED or UV Nail Lamp – Cures the polygel to a hard, durable finish.
With these essential polygel nail supplies in your polygel nail kit, you’re set to create stunning, long-lasting polygel nails at home. Remember, quality must-have polygel nail products make a big difference in your DIY manicure’s performance and longevity.
what do you need for polygel nails
Creating stunning polygel nails requires the right tools and products. You’ll need everything from base and top coats to various polygel formulas and colors. Knowing what you need can help you get professional-looking results at home.
Base and Top Coats
A top-quality polygel base coat is key. It makes sure the polygel sticks well to your nails. Also, a polygel top coat seals in the color and finish. This makes your nails look glossy and last longer.
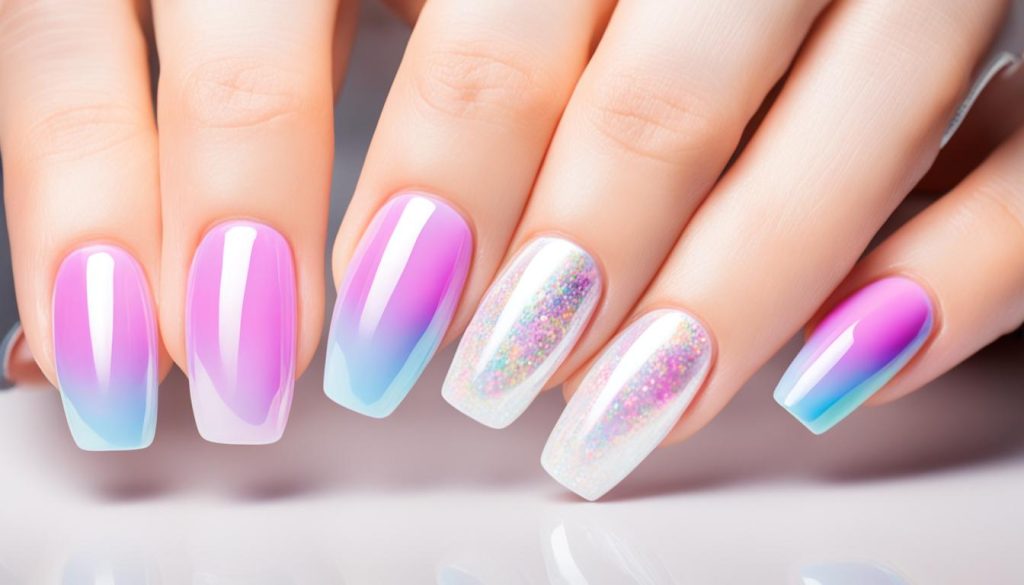
Polygel Products and Colors
There are many types of polygel out there, each with its own features. You can pick the right one for your nail look, from hard to flexible. Plus, there are lots of polygel colors and shades to let your style shine.
| Polygel Type | Characteristics |
|---|---|
| Hard Polygel | Durable and long-lasting, great for sculpting extended nail shapes |
| Flexible Polygel | Provides a natural-looking and bendable finish, ideal for natural nail enhancement |
| Colored Polygel | Vibrant and diverse range of shades to choose from, allowing for creative nail art |
“Investing in the right polygel products and tools can make all the difference in achieving salon-quality nails at home.”
Prepping Your Nails
Before you start with the polygel nails, make sure your natural nails are ready. This step is key for a smooth surface. It helps the polygel stick well and last longer. Let’s look at the nail files and buffers you need for prep.
Nail Files and Buffers
Using the right tools is crucial for nail prep for polygel. Begin with a coarse nail file to shape and smooth your nails. Always file in one direction to protect the nail bed.
- Use a 100/180 grit file for shaping and filing.
- Then, use a 180/240 grit file to smooth out any rough spots.
After filing, buff your nails with a nail buffer for a smooth surface. Buff in circles to remove ridges and discoloration. This makes sure the polygel sticks well and lasts longer.
Good nail prep for polygel is key for a great manicure. Spend time filing and buffing your nails. You’ll get a beautiful polygel application that lasts.
Application Tools and Accessories
Creating stunning polygel nails needs the right tools and accessories. Specialized brushes and versatile dual forms are key for a perfect application and shape. Let’s look at the main polygel application tools that can boost your nail art.
Brushes, Spatulas, and Dual Forms
Getting a flawless polygel manicure is all about precise application. Polygel brushes have high-quality synthetic bristles that blend and shape the polygel well. They come in different shapes and sizes for details or full nail coverage.
Polygel spatulas are also crucial for spreading and smoothing the polygel on nails. These spatulas are flexible and tapered, giving you great control for a smooth look.
- Polygel brushes: Offer precise control and blending for a professional finish
- Polygel spatulas: Facilitate smooth, even application of the polygel
- Polygel dual forms: Simplify the shaping and curing process for perfect polygel nails
Polygel dual forms are great for a simple polygel application. They shape the nail and cure the polygel in place, giving you a flawless look.
“The right tools can make all the difference in your polygel nail journey. Invest in high-quality brushes, spatulas, and dual forms to achieve salon-quality results at home.”
Getting the right polygel application tools is key to your creative journey and mastering polygel nails. Try different brushes, spatulas, and dual forms to find what works best for you.
LED or UV Nail Lamp
Getting perfect polygel nails needs the right tools. A top-notch LED nail lamp for polygel or UV nail lamp for polygel is key. These lamps are vital for curing polygel nails right, giving you a finish that lasts.
You can choose between LED and UV nail lamps for curing polygel. Both use light to start the curing process, hardening the polygel. But, there are differences that might affect your choice.
LED Nail Lamps
- Faster curing times, often within 30 seconds to 2 minutes
- More energy-efficient, with longer-lasting bulbs
- Produce less heat, making them more comfortable for extended use
- Generally more expensive than UV lamps, but offer a more efficient and convenient curing experience
UV Nail Lamps
- Typically have a longer curing time, around 2-4 minutes
- Less expensive than LED lamps
- Emit a broader spectrum of UV light, which some users may find less comfortable
- Bulbs may need to be replaced more frequently than LED lamps
Choosing between an LED nail lamp for polygel or a UV nail lamp for polygel depends on what you prefer, your budget, and your nail care needs. Think about the good and bad of each type to pick the best for you.
| Feature | LED Nail Lamp | UV Nail Lamp |
|---|---|---|
| Curing Time | 30 seconds to 2 minutes | 2 to 4 minutes |
| Energy Efficiency | More efficient, longer-lasting bulbs | Less efficient, may need more frequent bulb replacement |
| Heat Output | Less heat, more comfortable for extended use | Produces more heat, which some users may find uncomfortable |
| Cost | Generally more expensive | Less expensive than LED lamps |
Cuticle Care and Grooming
Keeping your cuticles healthy and looking good is key for a professional polygel manicure. You need special tools and products for this. They help keep your nails and the skin around them in great shape.
Nippers, Pushers, and Oils
Cuticle nippers and pushers are must-haves for polygel nail care. Nippers trim and shape your cuticles safely. Pushers push them back and remove extra skin. Use a good cuticle oil made for polygel nails too.
This oil keeps your cuticles moisturized and supports healthy nail growth. It also stops dryness or irritation.
Adding a cuticle care routine to your polygel nail care can make a big difference. With the right tools and products, your cuticles will always look great. This ensures your polygel nails look polished and professional.
FAQ
What is the difference between polygel and acrylic nails?
Polygel nails are a mix of gel and acrylic nails. They are more flexible and last longer than traditional acrylics. They are also easier to apply and less damaging to your natural nails than gel nails.
How long do polygel nails last?
Polygel nails can last 2-4 weeks with good care. How long they last depends on your lifestyle, nail growth, and how well you maintain them.
What tools are needed for applying polygel nails?
You’ll need a polygel nail kit, nail files, buffers, brushes, dual forms, and a UV or LED lamp for curing the polygel.
How do I prepare my nails for polygel application?
Get your nails ready by trimming, filing, and buffing them for a smooth surface. Also, push back and condition your cuticles.
Can I customize the color and design of my polygel nails?
Yes, you can choose from many colors and designs for your polygel nails. Use nail art techniques like glitter, foils, and ombré to make your nails unique.
How do I remove polygel nails?
To remove polygel nails safely, file the top layer, soak in acetone, and then gently lift off the rest.
Do I need a UV or LED nail lamp for polygel nails?
Yes, a UV or LED lamp is needed to cure and set the polygel. This lamp’s light makes the polygel hard and long-lasting.